Getting Started with Bohemica Signage
Welcome to Bohemica Signage! This guide walks you through everything you need to get up and running: creating your account (or joining a team you've been invited to), confirming your email, and following the built-in Getting Started checklist that takes you all the way from your first upload to your first screen going live.
Everything happens in your web dashboard at app.bsgn.cc — there's nothing to install on your computer.
💡 Two ways in
You can either sign up for your own account or accept an emailed invitation to join an existing team. Both are covered below — jump to the section that matches your situation.
Create a new account (self-service signup)
If no one has invited you yet, you can register on your own. Registration is free of charge, and you'll never be asked for payment or billing details to get started.
- Go to app.bsgn.cc and open the Sign up for an account page.
- (Optional) Click Sign up with Google or Sign up with Microsoft at the top of the form to use single sign-on. Your name and email are filled in for you, and you won't need to create a password.
- In Step 1, fill in your details:
- Full name
- Phone (optional)
- Email (required)
- Password (required, at least 8 characters)
- If you entered a phone number, an optional checkbox appears asking whether you'd like our team to call and help you get started.
- Click Next step.
- In Step 2, open and read the Terms of Service and Privacy Policy links, then tick both boxes. (Both are required.)
- (Optional) Tick Receive marketing emails if you'd like occasional product news.
- Choose a Preferred region — No preference (the default), Europe, Eastern America, or Western America.
- (Optional) If someone gave you a registration code, click Do you have a registration code? and enter it in the Registration code field.
- Click Sign up. (Need to change something? Use Go back to return to Step 1.)
- After signing up, open your inbox and click the confirmation link in the email we sent you.
- Return to app.bsgn.cc and log in.
Confirm your email before you log in
You won't be able to log in until you've clicked the confirmation link in the email we send you after signup.
Good to know
- Registration is free of charge. The free tier covers one device/screen per account; you can add more later.
- Email and phone must be unique. If your email is already registered, you may already have an account — try logging in or resetting your password instead.
- Phone is optional, but if you enter one it must be a valid number.
Accept a team invitation
If a colleague has invited you to their team, you'll receive an email with an invitation link. Use it to join their workspace and set your password.
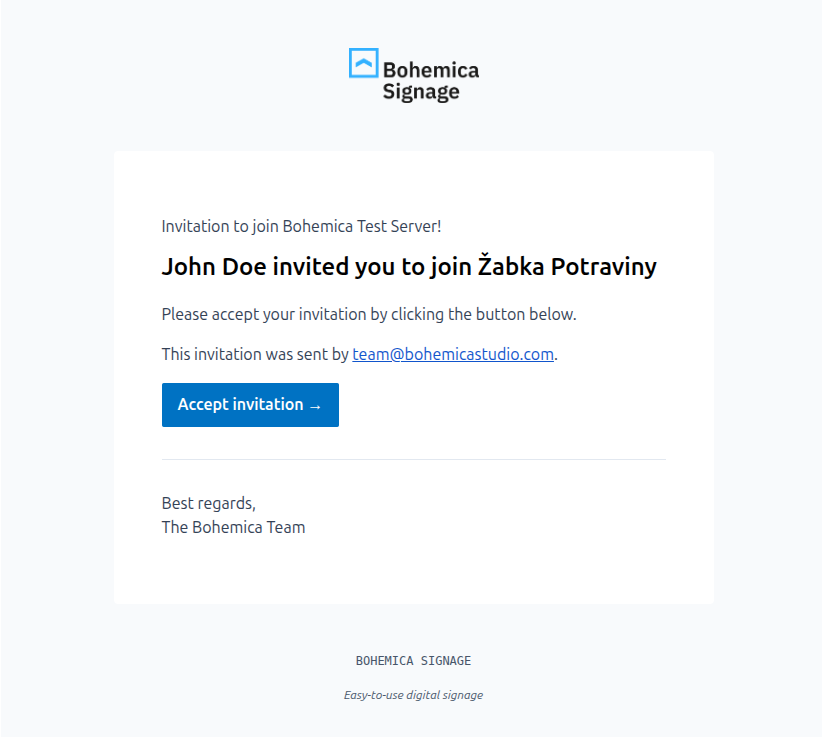
- Open the invitation email and click the invitation link. The page confirms who invited you and which team you're joining.
- Read the linked Terms of Service and Privacy Policy, then tick both boxes — you must accept both before you can create your password. Optionally tick Receive marketing emails.
- Enter your new password in the Password field, then type it again in Confirm password. Passwords must be at least 8 characters and the two entries must match.
- Click Create password.
- Prefer single sign-on? Click Continue with Google or Continue with Microsoft instead — no password needed.
- You'll be taken to the login page. Sign in with your new password (or your SSO account).
💡 Already have an account?
If you were invited but already use Bohemica Signage, you don't need to create anything new — just confirm the invitation and keep using your existing login details.
Invitation link expired?
Invitation links can expire. If yours no longer works, request a fresh link from that page, or ask the person who invited you to resend the invitation.
Follow the in-app Getting Started guide
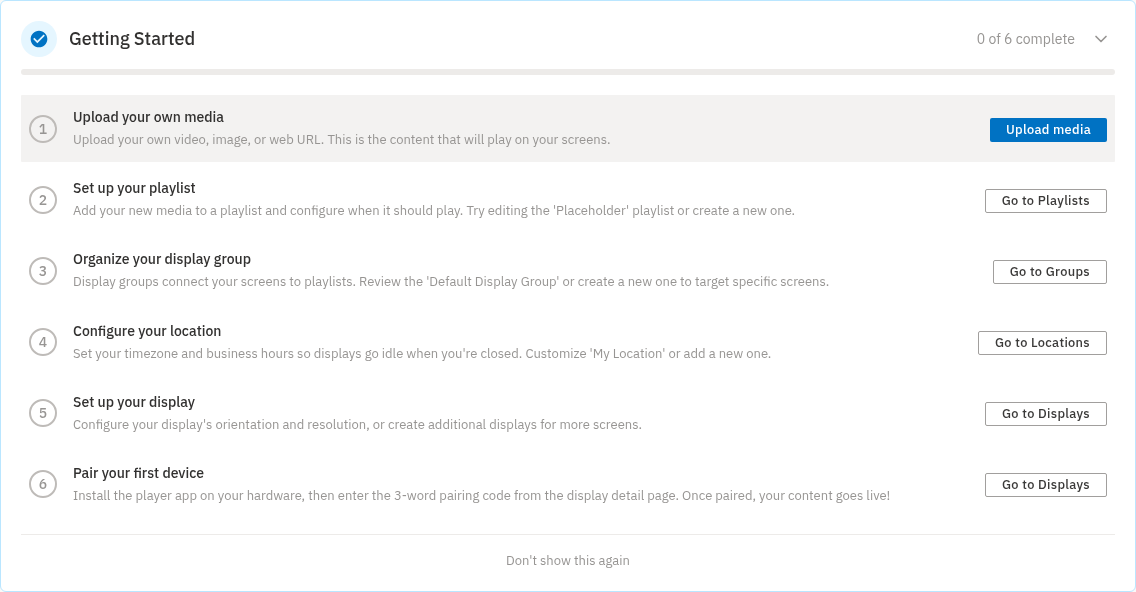
While you're setting up your server, the dashboard shows a Getting Started checklist. Progress is shared: steps are ticked off based on what already exists on your server, so a step one teammate finishes shows as done for everybody. The checklist disappears on its own once all six steps are finished.
You can collapse the checklist out of the way and expand it again whenever you like.
| # | Step | What you'll do |
|---|---|---|
| 1 | Upload your own media | Add a video, image, or web URL to your library. |
| 2 | Set up your playlist | Add your media to a playlist (edit the Placeholder playlist or create a new one). |
| 3 | Organize your display group | Connect screens to playlists (review the Default Display Group or create one). |
| 4 | Configure your location | Set your timezone and business hours. |
| 5 | Set up your display | Set orientation and resolution, or add more displays. |
| 6 | Pair your first device | Install the player app on your hardware, then enter the 3-word pairing code from the display detail page. Once paired, your content goes live. |
Each step is checked off automatically as you finish it.
💡 Hide the checklist anytime
Don't want to work through it right now? Click Don't show this again at the bottom of the checklist to hide it. This only hides it for you — teammates keep seeing the checklist until they hide it themselves or all six steps are done.
The final step, Pair your first device, is where your screen comes to life. For the full walkthrough of installing the player app and entering your pairing code, see Pairing a Display with a Device.
What to do next
Now that your account is ready, here's where to go to build out your first screen:
- The Media Library — upload and manage your images, videos, and web content.
- Creating Playlists — arrange your media into a playlist that plays in a loop.
- Pairing a Display with a Device — connect your hardware and put your content on screen.
You may also want to review Your Account Settings, set up Two-Factor Authentication for extra security, and learn how to invite colleagues in Departments, Users & Roles.
FAQ
Do I have to enter payment or credit card details to sign up? No. Registration is free of charge and the signup form never asks for payment or billing details. The free tier covers one device/screen per account, and you can add paid screens later.
I signed up but can't log in — why? You need to confirm your account first. After signing up, open the email we sent you and click the confirmation link, then return to app.bsgn.cc and log in. If the confirmation email never arrived, check your spam or junk folder first — and if it's still missing, contact our support team and we'll resend your confirmation link and help you get in.
Can I sign up or join without creating a password? Yes. On both the signup and invitation pages you can choose Continue with Google or Continue with Microsoft (or Sign up with Google / Sign up with Microsoft) to use single sign-on instead of setting a password.
My invitation link says "Invalid token." — what do I do? The link has expired or is no longer valid. Request a fresh link from that page, or ask the person who invited you to resend the invitation.
The signup form says "This email is already taken." — what now? Every account needs a unique email address, so there's probably already an account under that email. Try logging in instead, or reset your password if you've forgotten it.
Is a phone number required to sign up? No, the Phone field is optional. If you do enter one, it must be a valid number — an invalid entry is rejected with Invalid phone number. Adding a phone number also reveals an optional checkbox that lets our team call you to help you get started.
How do I get rid of the Getting Started checklist? It disappears on its own once all six steps are complete. To hide it sooner just for yourself, click Don't show this again at the bottom of the checklist — teammates keep seeing it until they hide it too.
Need help?
Stuck on any of these steps? Reach out to our support team and we'll be glad to help you get your first screen up and running.